Hello, Skyrexians!
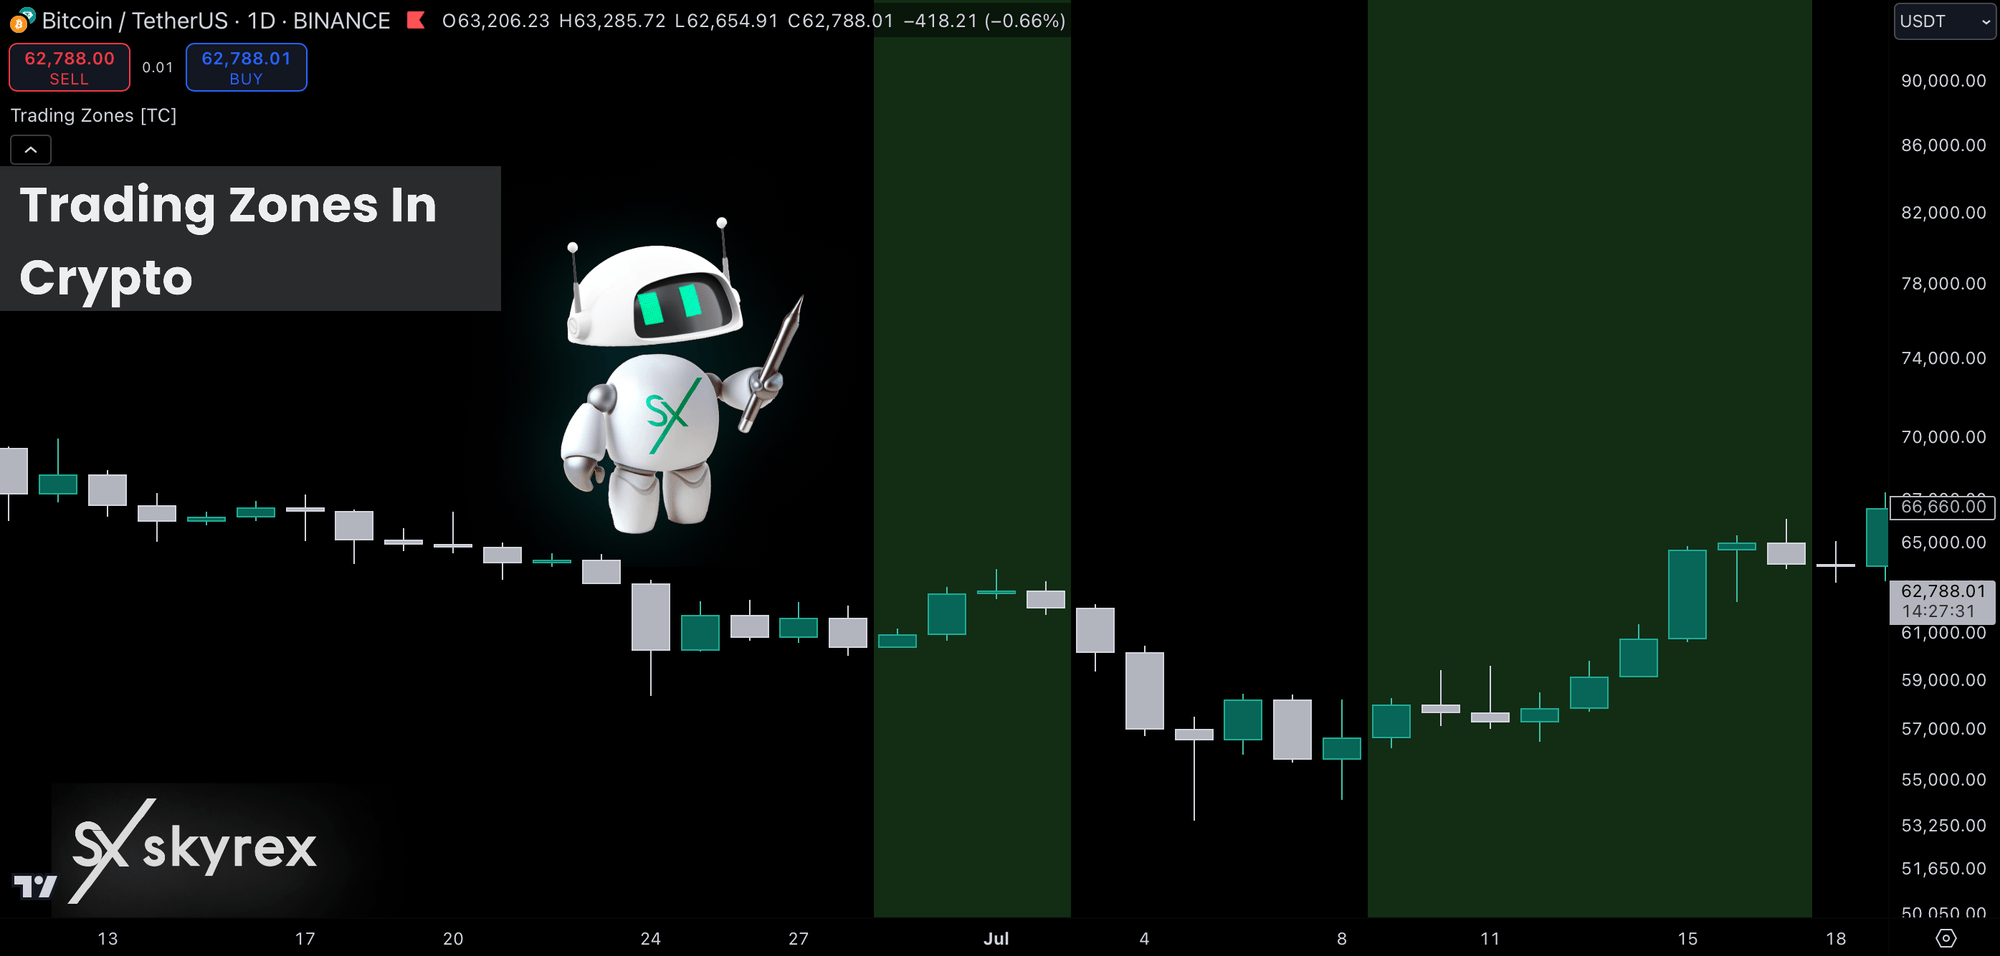
Last two articles were the deep dive into the Awesome Oscillator and Acceleration Deceleration indicators by Bill Williams. In conjunction with the fractals and the alligator these indicators are the powerful concept in cryptocurrency trading. It can significantly boost your cryptocurrency trading strategy, crypto trading algorithm or you can implement it into trading bot. Today we will expand this concept with the trading zones – the periods on the market with the bullish or bearish superiority.
Trading zones is not the popular concept in comparison to Awesome Oscillator, that’s why using it can give you a huge advantage in crypto trading because even top crypto traders don’t use it in their trading routine. Let’s go through its concept.
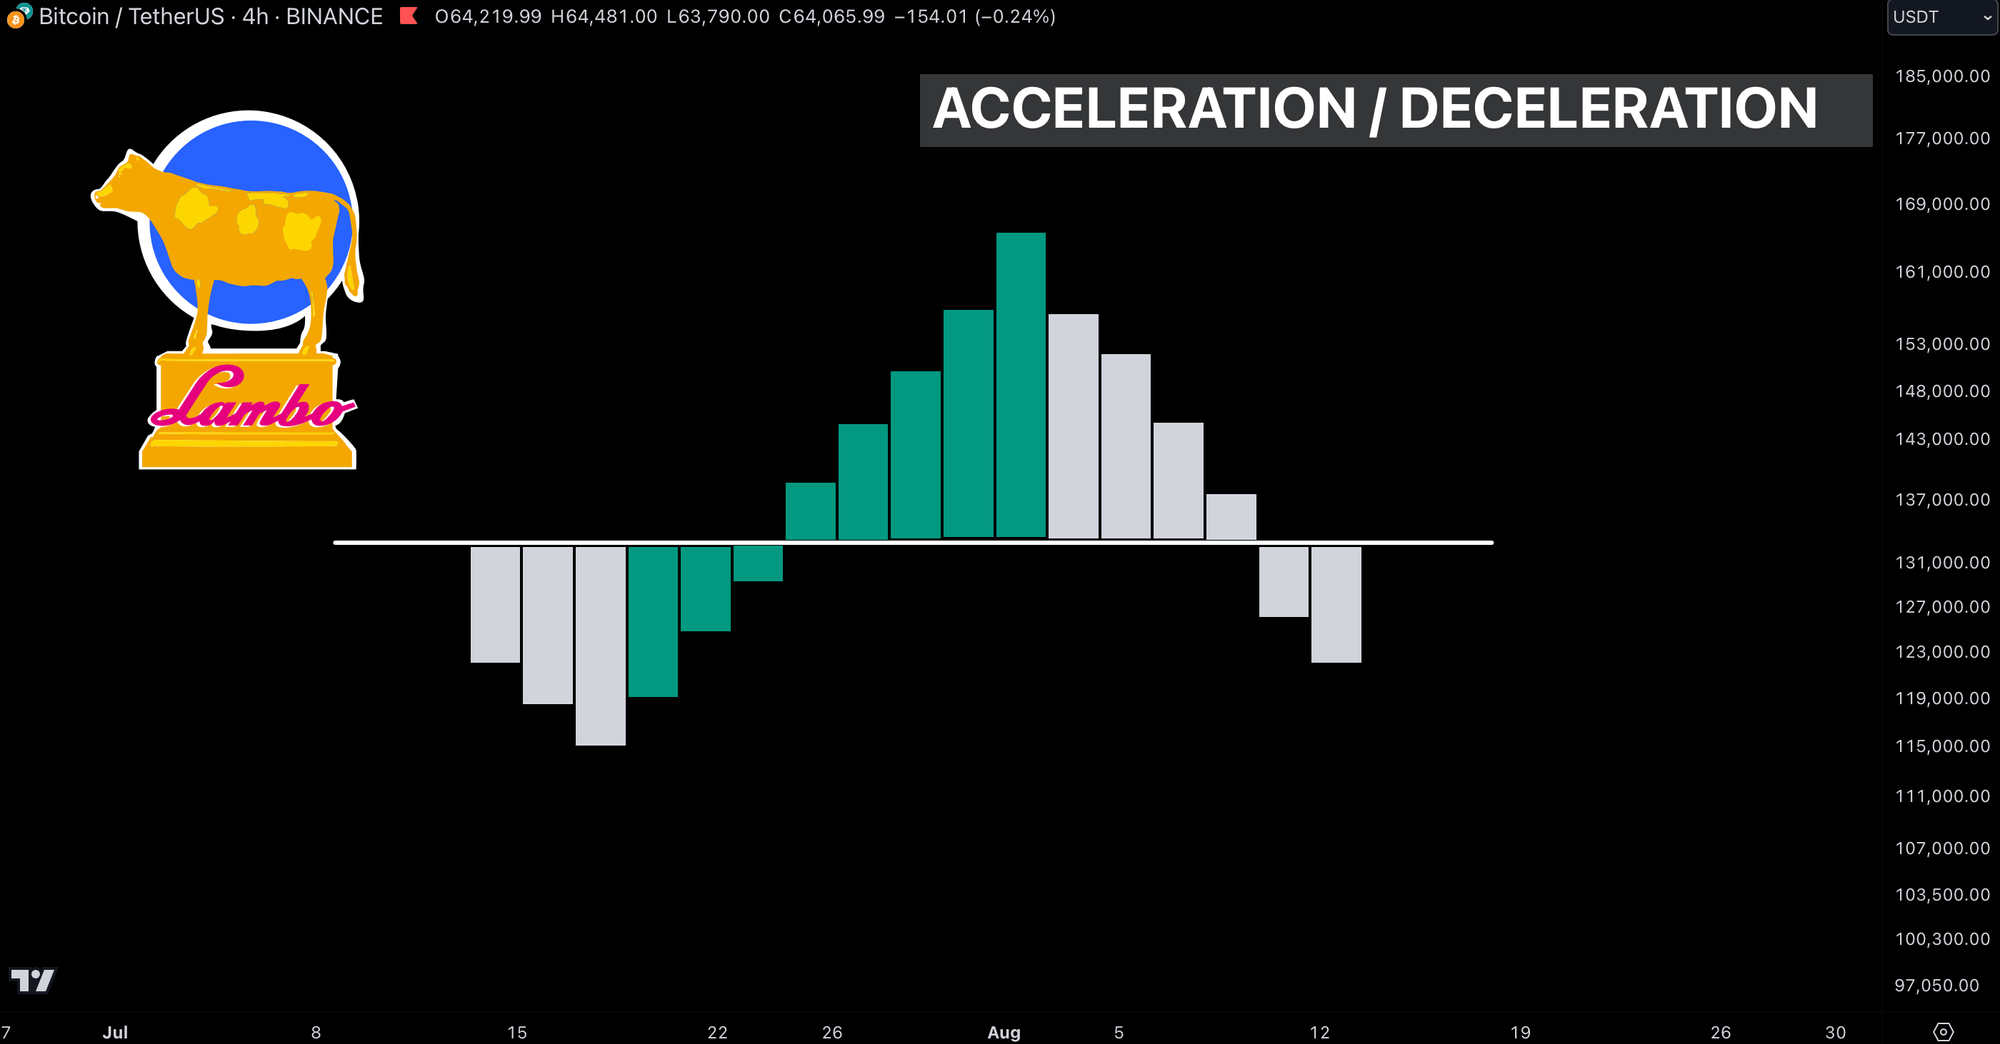
Before start observing the trading zones concept we have to understand what are the Awesome Oscillator and Acceleration/Deceleration. Awesome oscillator is the approximation of the market’s driving force. Usually it starts moving before the price if this is an impulsive wave. During corrections it can flash the false signals. Before the driving force starts moving the acceleration changes its direction. That’s why combination of these indicators is so important.
What is the trading zone?
As you know from AO and AC descriptions they can have 2 conditions: increasing (greed bars) and decreasing (red bars). According to this we can define 3 marker conditions:
-
- Green zone. Both AO and AC have the increasing columns. This is the strong bullish phase. Only long trades are allowed.
-
- Red zone. Both AO and AC have the decreasing columns. This is the strong bearish phase. Only short trades are allowed.
-
- Gray zone. AO and AC have the different directions. No signals can be generated by this trading zone
How to trade in green zone?
Let’s take a look at the chart below and find the firs bar where both AO and AC became positive.

After that we saw two bars with lower close prices. We do not take into account such bars. Then we saw the first bar in the green zone with the higher close. This is our first signal bar, we shall buy the asset the bar’s close. The next 4 bars were also green and rising inside green zone. At the close of each candle we shall buy. When we counted 5 green candles in a row we stop open long trades anyway.
We have to place our stop order at the low of recent green zone bar to close all long trades opened earlier. We can see that market stopped us out 3 bars later.
How to trade in the red zone?
On the price chart below we can notice the first candle with red AO and AC, which starts the red zone. We don’t sell at the first candle inside red zone, we shall wait for the first one which has the lower close than the previous candle.

After this candle we saw the candle with the higher close, so we just skip it. The next two candles were the signal candles, so we shall short sell at their close prices. After that we saw the higher close candle – just skip this. Next two candles are the signal candles again. Now we have 5 red zone candles, we shall stop add to our short position. Then we have to act like we did in the green zone. Place the stop order one tick above the last candle high where we added to our short and trail this stop while price is moving in your direction!
Conclusion
We discussed the trading zones concept, the extension for AO and AC trading systems. It’s combination allows us to define the periods on the market where we can be the aggressive traders. May be you noticed that during strong bull markets adding to position on every candle can significantly increase profits. Every local dump usually immediately recovers by the buying pressure. The same can be the truth. for the strong bearish phases. Adding at every candle is extremely aggressive strategy, so you shall use the proper risk and money management to not lose a lot of money because, as you remember, the main law of markets is that price move is unpredictable! Take it into account!


